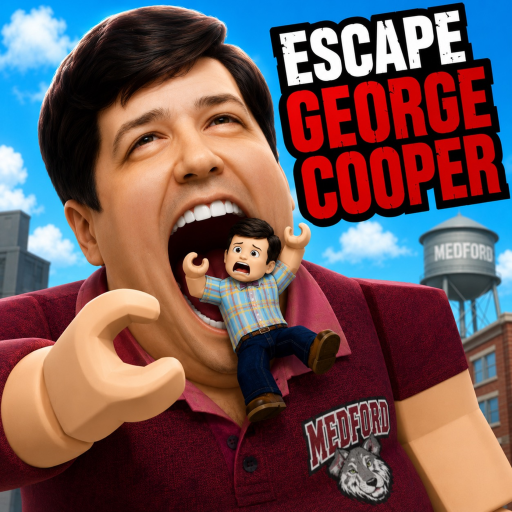
Brisket Survival Map Guide
Learn how map areas work — multi-exit rooms, obstacle loops, corridors, and open sight lines — so rotations beat random camping.
The Brisket Survival map is not a checklist of secret crates; it is a network of area types that either help or punish you when giant George Cooper closes in. Yeetshoe’s Roblox chase game rewards players who understand exits, sight lines, and travel routes across lobbies of up to twenty survivors. Use this guide to classify space quickly, then deepen specific callouts with Hide Spots and the Hide Spots Tier List.
As of the August 1, 2026 Roblox API check, the experience remains on Update 1’s FFA and Duo feature set with more than seven hundred sixty thousand visits. Map habits still matter more than cosmetics or unverified codes.
Map thinking before callouts
Ask three questions every time you stop:
- How many exits can I reach without turning into George?
- What solid obstacle can break his straight path if he sees me?
- Where is my next node if this room becomes loud?
If you cannot answer all three, keep moving. Beginners often treat darkness as safety; darkness without exits is a trap. The Beginner Guide checklist pairs well with this page.
Area types ranked by purpose
Multi-exit rooms (high value)
Enclosed spaces with more than one doorway let you leave when George approaches from one side. Stand near a decision point, not in the deepest dead corner. Best use: waiting while a chase plays out elsewhere. Risk: other survivors may pile in and draw him to you.
Obstacle loops (high value in chases)
Large solid props let you turn, cut vision, and interrupt a linear pursuit. Circle just long enough to open a path toward another area, then relocate — looping forever becomes predictable. Pair with How to Escape drills.
Connected corridors (medium)
Corridors link safer rooms without crossing the most exposed ground. Pick your next turn before you enter and avoid stopping mid-lane. They become deadly when players approach from both ends during FFA noise — see FFA Mode.
Wide open areas (situational)
Open ground helps you spot George early but offers little protection once he commits. Use them for quick reads while he is far away, then slide back toward cover. Crossing the center while he is already mid-chase is a common loss on Common Mistakes.
Crowded meme hides (low)
Viral spots fill fast. One chase can expose everyone nearby. Use only as a brief stop when George is far, then leave before fleeing players block exits.
Travel logic that wins rounds
| Goal | Prefer |
|---|---|
| Opening scatter | Edge routes that break sight quickly |
| Mid-round wait | Multi-exit room with a planned B node |
| Active chase | Obstacle loop → corridor → new room |
| Duo coordination | Parallel corridors so partners can bait without sharing one doorway — Duo Mode |
Map habits by role
Survivors: rotate before you are cornered, and never treat the first hide as permanent. Read Survive George for pursuit timing.
George: cut popular exit chains instead of tunnel-chasing one player forever. Hunter tempo lives on Play as George and the George Cooper profile.
Modes and map pressure
Update 1 did not replace the core map, but FFA increases mid-map collisions and Duo rewards planned pair routes. Recheck Updates and Update 1 after patches so you know whether Yeetshoe changed layout language in the description.
Practice plan for map knowledge
- Play one round naming every area type you visit out loud
- Survive a second round using only multi-exit rooms and one loop
- Compare your favorites against the Hide Spots Tier List
- Run Survival Advisor before a long session
Related pages
- Hide Spots — Concrete routes and sight-line notes
- Tips and Tricks — Audio and stamina habits that support rotations
- Play with Friends — Sharing map callouts in voice chat
- Strategies Tier List — Ranked behaviors tied to map reads
Treat the map as a decision graph. Players who rotate with purpose outlast players who camp the first dark corner they find.
Frequently Asked Questions
Quick answers to the most common questions.
What is the best type of hiding place on the Brisket Survival map?
Rooms with multiple exits and a planned second node. Dark single-door corners look safe but become traps when George blocks the entrance.
Should I cross open areas during a chase?
Only if you must. Prefer obstacle loops and connected corridors once George has line of sight.
Do FFA and Duo change the map layout?
Update 1 mainly changed modes and pacing. The same area types still apply, but FFA adds crowd noise and Duo rewards parallel routes.
Where do I find ranked hide locations?
Use the Hide Spots guide for routes and the Hide Spots tier list for quick comparisons.
How do I practice map knowledge efficiently?
Name area types during one round, then force multi-exit rotations the next round before grinding cosmetics or other modes.